
How to Make Your Own Paper Corner bookmark ?
Published Time:2016-03-17 Original Source:How to Make Your Own Paper Corner bookmark ?
How to Make Your Own Paper Corner bookmark ?
While reading your books, you may have to stop and take a rest and protect your eyesight during your reading. At this moment, you need a bookmark to remind you the reading progress later.
YellowPrinting here to show you how to make a super quick and easy bookmark.
Please let us know what you think about it.
Here’s a traditional photo tutorial to show your how to make it step by step.
How To:
1. Score your 6 x 6” patterned paper at 3” rotate it 90° and score again at 3”
2. Score diagonally
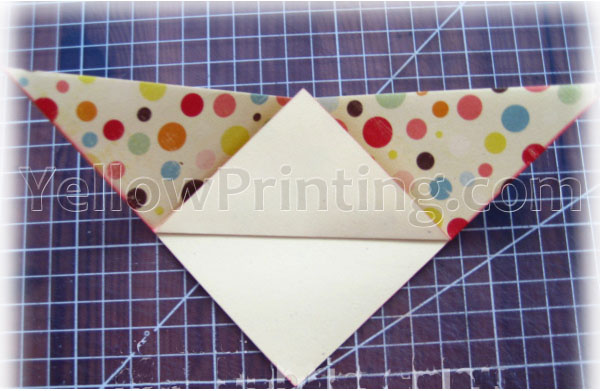
3. Fold along the diagonal scored line to create a triangle (see picture)
 YellowPrinting.com
4. Flip it over and fold the lower triangle up (see picture)
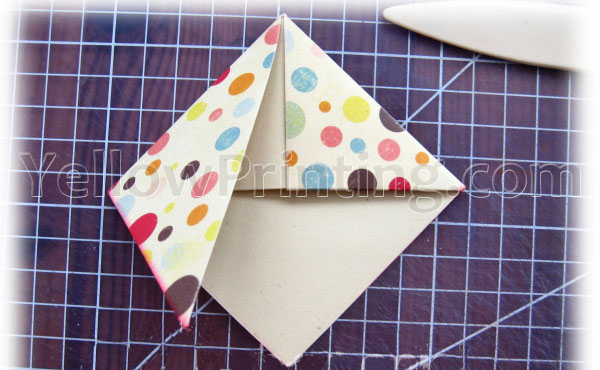
5. Fold the left and right edges down and tuck them under the upfolded triangle (see picture)
Your bookmark is done and you could stop here. But you can also go further on and dress it up a little bit more like I did here:
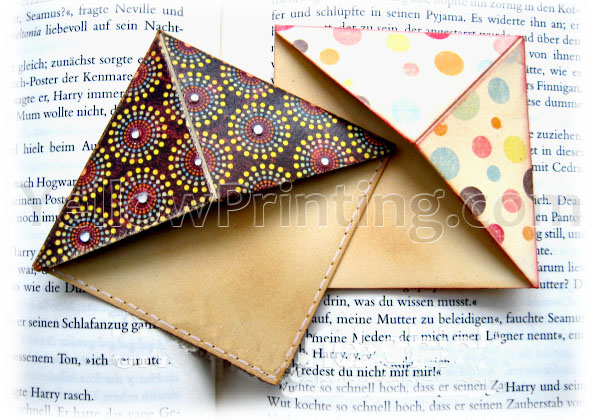
6. Ink the lower triangle and the edges with Distress ink and the blending tool (or a cosmetic sponge or whatever you have on hand)
7. Create a line of holes with your paper piecing tool around the edges to create the faux stitching
8. Draw lines with a white gel pen to create the faux thread
9. You could further dress it up by adding some little self-adhesive gemstones or some paper flowers or whatever you like.
And this is what it looks like when in use:

If you have any questions, please feel free to ask us anytime – just leave us a comment here or send us email..
YellowPrinting.com