
Home > Printing News and Printing Knowledge > How to Prepare a File for Brochure Printing with Adobe Illustrator
How to Prepare a File for Brochure Printing with Adobe Illustrator
Published Time:2016-09-27 Original Source:How to Prepare a File for Brochure Printing with Adobe Illustrator
How to Prepare a File for Brochure Printing with Adobe Illustrator
A brochure is a piece of paper that includes photos, graphics and information. There are many types of brochures such as the Z-fold which has 4 - 6 panels, a bi-fold which has 4 panels and a tri-fold which has 6 panels. For this tutorial were going to create a tri-fold brochure and make it print ready. Follow this tutorial and learn how to create a tri-fold brochure using Adobe Illustrator CS5.
1. Prepare your file by making it print ready.
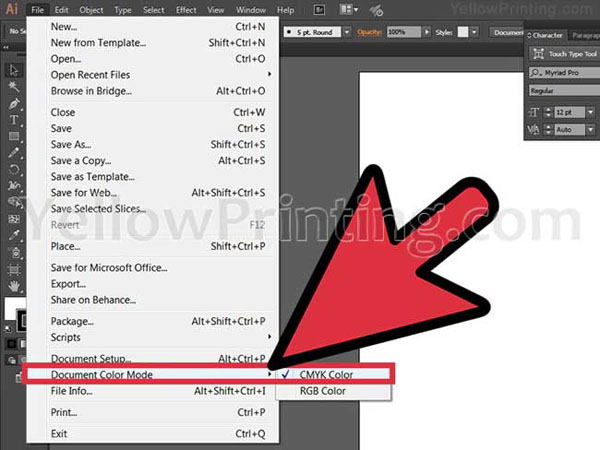
1) Create a letter size document (11x8.5 inches) and change the document color mode to CMYK. You can do this by going to file > document color mode > CMYK Color.
2) Add color swatches such as red, pink, green, yellow and dark yellow. Keep in mind that you can also choose your own colors. Written below are some combinations of the colors used on the tutorial. Red: C=0, M=68, Y=50, K=0; Pink: C=0, M=31, Y=38, K=0; Green: C=59, M=0, Y=33, K=0; Yellow: C=0, M=0, Y=51, K=0; Dark Yellow: C=0, M=7, Y=66, K=0.
. YellowPrinting.com
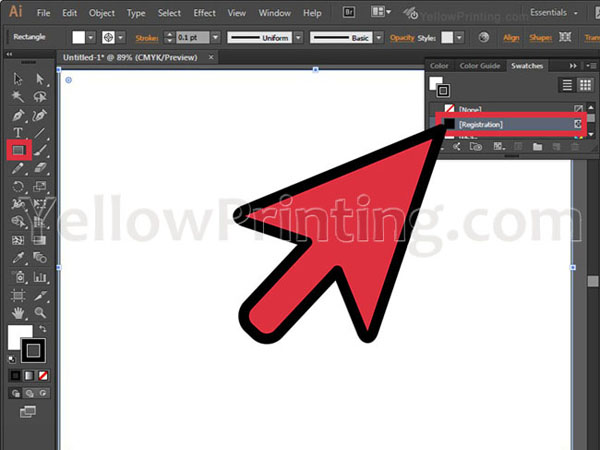
2. Now you need to create a crop guide by using a rectangular shape. A crop guide is a guide used by printers to know where to trim your brochure once printed. Create the shape with a size of 11x8.5 inches and color the stroke using the registration swatch. Change also the weight of the stroke to a 0.1 pt.
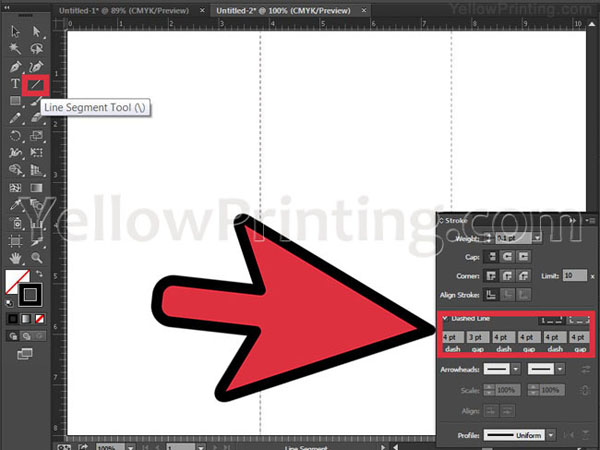
3. Then divide your 11 inches (27.9 cm) width-space into 3. Mark your division using guides and then place dashed lines on them. To create your dashed line use the line segment tool to create a line then click dashed line on your strokes panel or window.
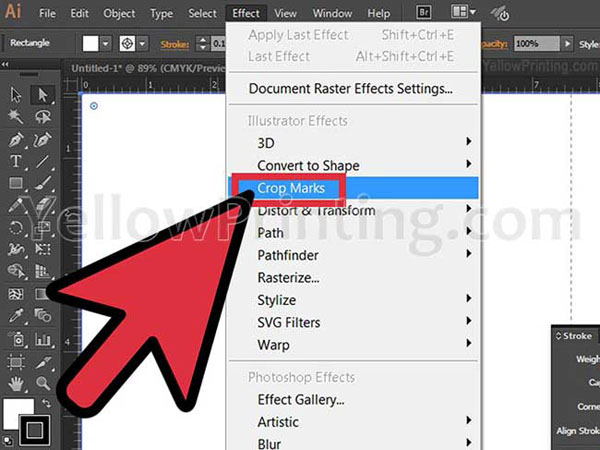
4. Add crop marks on your document. To add crop marks, select your crop guide or rectangular shape and then go to effect and click on crop marks.
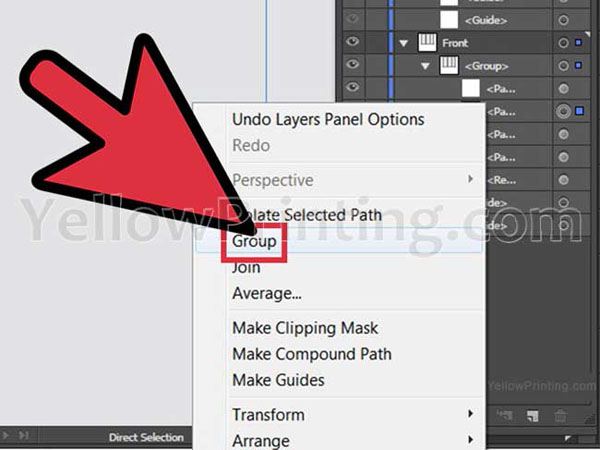
5. Group everything together. Select all (or Ctrl+A), right-click and click on group.
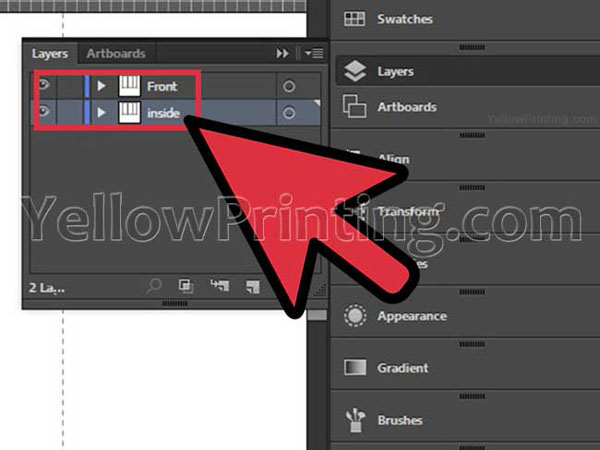
6. Make a copy of the group and rename them “FRONT” and “INSIDE.” To make a copy drag the group to your create new layer icon.
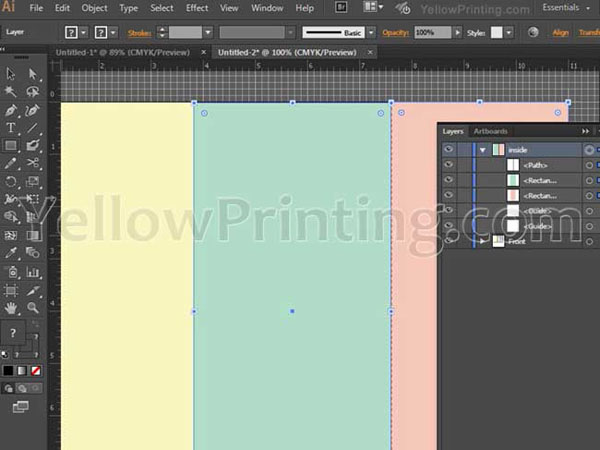
7. Create the contents of your document. Now that you have finished preparing your brochure, it's time to add editorial content. Start by creating backgrounds using your rectangular shape and selecting colors on your color swatch. Make sure that your rectangular shape is extended and not exactly fitted on your crop guide.
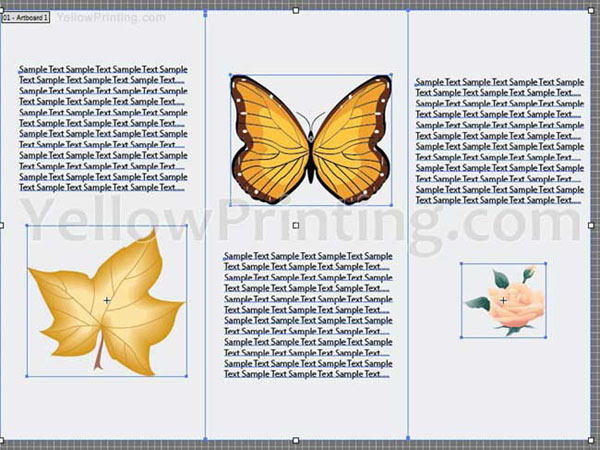
8. Create content for the front, back and inside flap of the brochure (or the “FRONT” group). Create your content by combining photos, graphics and texts. You can follow the layout on the accompanied illustration or create your own also.
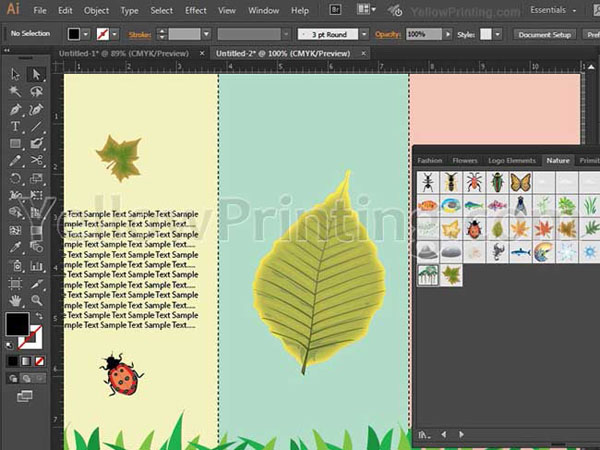
9. And finally, it is time to add content on the left, middle and right inside panels of your brochure (or your “INSIDE” group). Once you do that, you are done. YellowPrinting.com
10. Here's a sample of the final artwork when folded.
