
What is a Bleed/Bleeding?
Published Time:2016-03-17 Original Source:What is a Bleed/Bleeding?
What is a Bleed/Bleeding?
When preparing the artworks for printing, you would meet the bleeding problems.
Here're some useful examples for your reference:
If any part on your document layout makes contact with the document border then you will have to use a bleed. The technique is to place the background objects so that they go over the border where the document will be cropped after printing.
The word Bleed is used for all objects that extend beyond the border off your document. For Example: You are working on a flyer with images against the sides of your pages. You will have to supply us with a document slightly larger than the final document size you require.
After the flyer is printed, it will then be cropped to its proper size. The bleed in your document provides the cropping some room for error. During the cropping process, the paper can expand or contract, the cropping machine could be setup incorrect, or the person working on the flyer could make a mistake. There are many factors that could cause problems with the cropping. If you were not using bleed, then the images / background colour would not be neatly aligned with the side of your printed document.
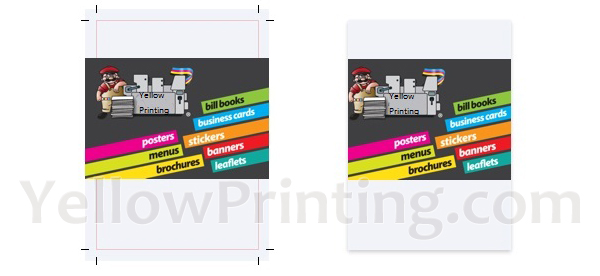
Example Image: Left Side is with crop marks, and Right Side is Cropped Image
The Two Types of Bleed
A bleed can be a full bleed or partial bleed. A full bleed has objects running across your document on all four sides. With a partial bleed you will have a few of the parts running off the document. YellowPrinting.com
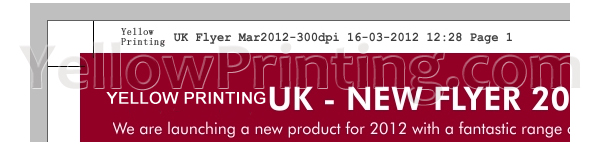
Crop marks
For every job you send to us you will need to place cropmarks on your document. Most industry standard programs on the market will do this automatically, however on some applications this task will need to be done manually. For most jobs we require the crop marks to be between a minimum of 2mm to 3 mm.
In most programs you will not see the crop marks until you launch the exported file i.e. print ready PDF. YellowPrinting.com
Adobe InDesign Bleed Settings
The settings in InDesign are available by following the new file option. You will need to press the 'more options' button before they become visible. If you already have a document open then you can find them in the File > Document Setup Option.

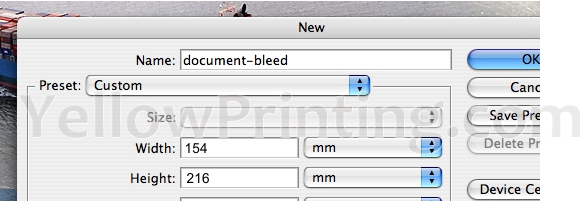
Bleed Settings in Photoshop
Bleed is not a native element in Photoshop. In other words: There are no bleed settings available in Photoshop when you make a new document.
However, it is possible to create a bleed manually by placing the bleed size to the document size. For Example: If your flyer would be A5 (210mm x 148mm) then you would add 3mm to all document sizes, making the image 216mm x 154mm.
If you are adding bleed to your document size in Photoshop, then it will also be a good idea to create some custom crop marks in your document that your printer will understand. You can achieve this by either creating them in Adobe Illustrator and importing them, or alternatively make 2px lines (in a 300dpi document).
Bleed Settings for CorelDraw X5
If you are using CordelDraw X5 then you can create your page in the size you require with the extra 3mm coming out of the edge. Then to save it as a Print-Ready PDF you will have to choose the 'Publish to PDF' option followed by ticking the boxes in Prepress tab for Bleed and Crop Marks. See our example below:
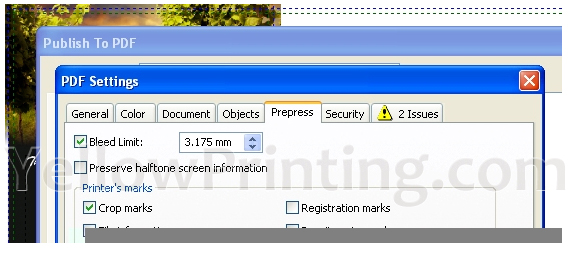
You can enter the bleed amount in the box next to the 'Bleed Limit' and it will automatically add the amount to all 4 edges.
Rather Get it All Done by Yellow Printing Direct?
Simply select our design service option when choosing your product.
Not sure if its correct?
Simply check it with us when placing your order .