
Home > Printing News and Printing Knowledge > How to Print Your Wedding Invitation Cards Step By Step
How to Print Your Wedding Invitation Cards Step By Step
Published Time:2016-04-25 Original Source:How to Print Your Wedding Invitation Cards Step By Step
How to Print Your Wedding Invitation Cards Step By Step
1. Choose What Kind of Wedding Invitations You Prefer
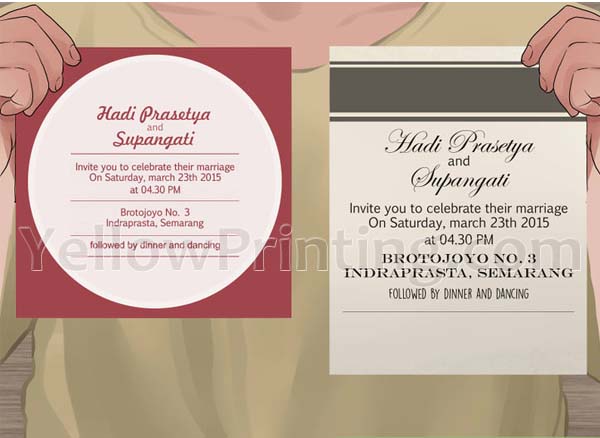
Select traditional invitations. Traditional invitations include several enclosures (often called an invitation suite), including a wedding invitation, reception invitation and response card. Traditional invitations are printed on high quality paper and are ideal for formal weddings.
Select casual invitations. Casual invitations may not include as many enclosures, and may direct guests to a website for additional information about the wedding. Casual invitations are ideal for a themed wedding or a less formal event. Casual invitations may feature embellishments and distinct paper designs.
2. Prepare Invitation Card Paper and Envelopes
Purchase an invitation suite. Many companies offer invitation kits that provide the invitations, enclosures and envelopes for wedding invitations. Invitation suites are available in many paper colors and designs, ranging from traditional formal invitations to casual themed invitations.
Purchase at least 20 to 25 percent more invitation suites than you plan to send. This allows for extra pieces in the event of mistakes as you are printing them. For example, if you plan to print 100 invitations, Purchase 125 invitation suites.
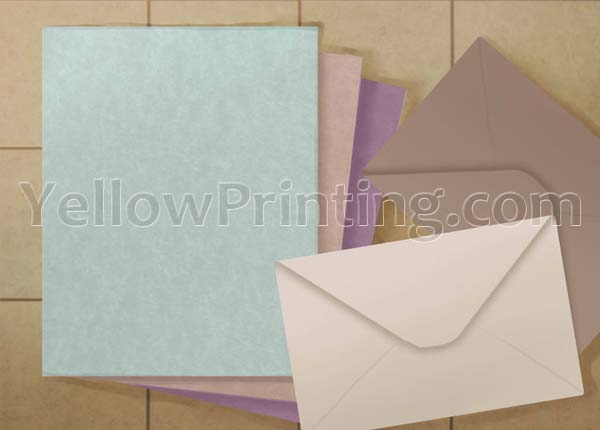
Purchase cardstock and matching envelopes. If you don't mind cutting your invitations and enclosures to the desired size, Purchase cardstock and matching envelopes. This is a less expensive option than an invitation suite and offers design versatility.
Purchase envelopes for the invitations and enclosures. An invitation suite comes with envelopes for the invitations and enclosures, but if you are making your own invitations from cardstock, you will need to purchase the envelopes separately. For example, if you want guests to mail back a response card, you need to supply an envelope that fits the response card. Some couples choose to use outer envelopes and inner envelopes. The outer envelopes are addressed, while the inner envelopes protect the invitation and enclosures. If you are using both outer and inner envelopes, be sure to purchase the correct quantities and sizes for your invitations.
Purchase layering papers. Add some visual interest and color to wedding invitations by layering the printed card on top of a different color cardstock. This makes the invitation appear to have a border, and results in a thicker invitation. The layering cardstock should be about 1/4-inch larger than the printed cardstock.
Do not add layering papers to pre-cut invitation suites, as the final invitation size may not fit in the envelopes provided with the invitation suite.
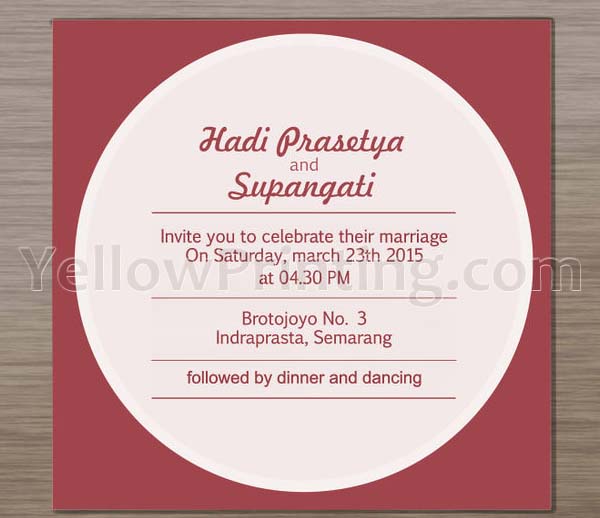
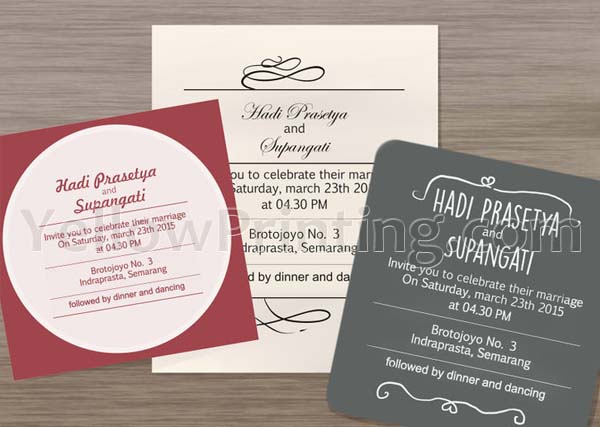
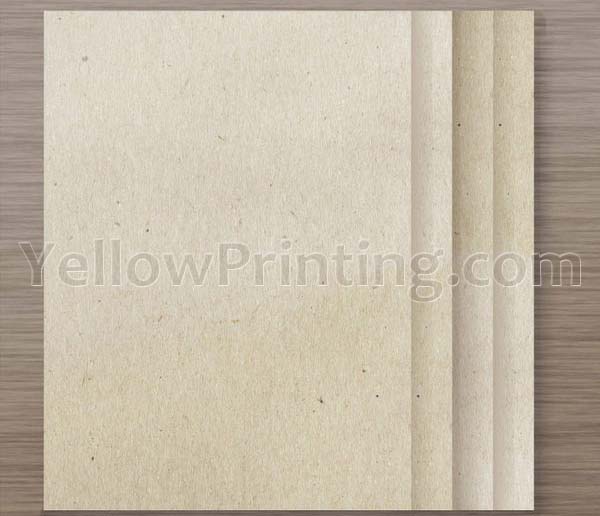
Evaluate the paper color. Most standard wedding invitations are printed on a white or cream cardstock. However, there are different shade of white and cream. Consider whether you prefer a bright white, an eggshell, a light cream or an ivory tone for your invitations.
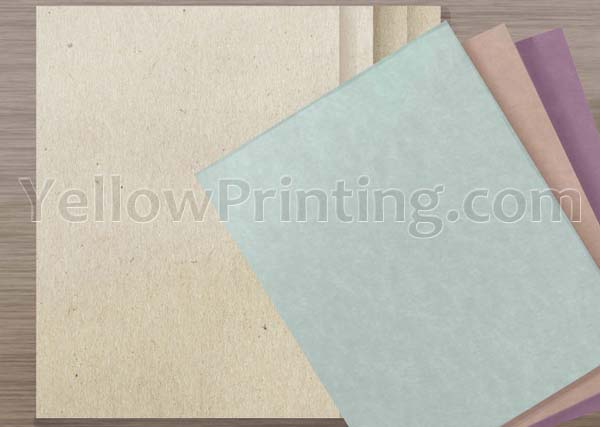
Mix and match color palettes to find colors that complement each other. If you choose to use layering papers or colored inks, evaluate how the colors look with the white or cream cardstock you choose before purchasing any paper.
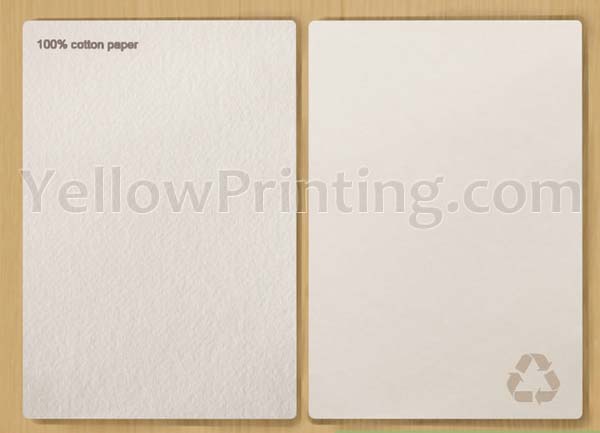
Consider your paper preferences. Environmentally conscious couples may want to choose 100% recycled with 30% post-consumer waste paper. Those who desire a luxurious feel to the paper may prefer 100% cotton paper. Couples who want a more dramatic invitation may choose textured paper.
YellowPrinting.com
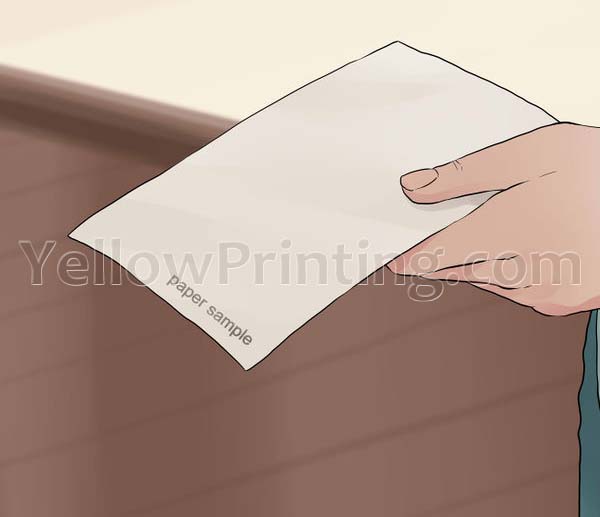
Request paper samples before placing your order. Most paper distributors will provide samples either free of charge or for a small shipping fee. The paper sample will allow you to evaluate the paper weight, color and texture.
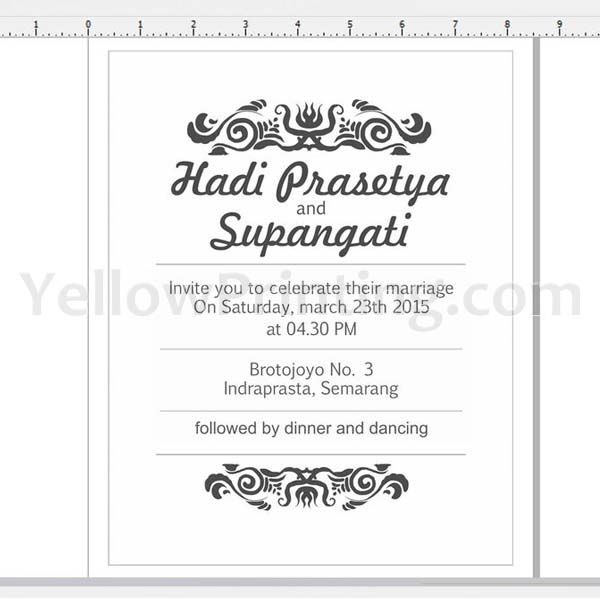
3. Design the Printing Artworks For Your Wedding Invitation Card
Choose a word processing or design software to create your invitations. Professional desktop publishing or design software may be helpful in creating elaborate invitation designs. However, any word processing program can be used to create basic wedding invitations.
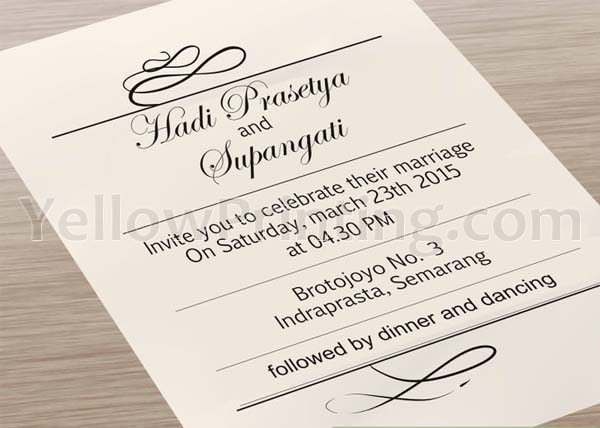
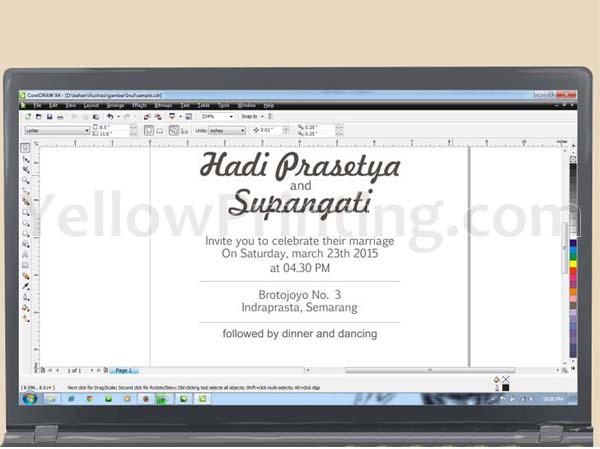
Select the fonts for the invitation. A font is the typeface (or sometimes called lettering) used for your invitation. Most wedding invitations feature 2 fonts--1 script font and 1 block font. Do not use more than 2 different fonts or the invitation may be difficult to read.
Experiment with free fonts available for download online. Try different font combinations and font treatments, such as italics, lowercase and uppercase typeface.
Try different font sizes. The font size is how big the text appears on the invitation. Because fonts vary in typeface size, it is difficult to provide a suggested font size for invitations. As a rule of thumb, avoid font sizes smaller than 9 point. Consider using larger font sizes to highlight different parts of the invitation text, such as the names of the bride and groom.
Determine the text alignment. The text alignment is how the text is aligned or arranged on the invitation. Traditional wedding invitations feature center alignment. However, consider right or left justified alignments depending on your invitation design.
Consider the line spacing. Line spacing is the amount of space between the lines of text. If the line spacing is too far apart or too close together, the invitation will be difficult to read. Adjust the line spacing as necessary to meet your design needs.
Add visual interest with graphic elements. If you are not an artist or graphic designer, the easiest way to add graphic elements to a wedding invitation is through high-end clip art.
Look for clip art with resolutions of at least 300 dpi (dots per inch). Low resolutions graphics do not reproduce well and often appear blurry. For crisp, high quality graphics, use only high resolution images.
Incorporate graphic elements that carry out the theme of your wedding. If your wedding does not have a specific theme, consider images like florals, branches and Victorian flourishes to create invitations with timeless appeal.
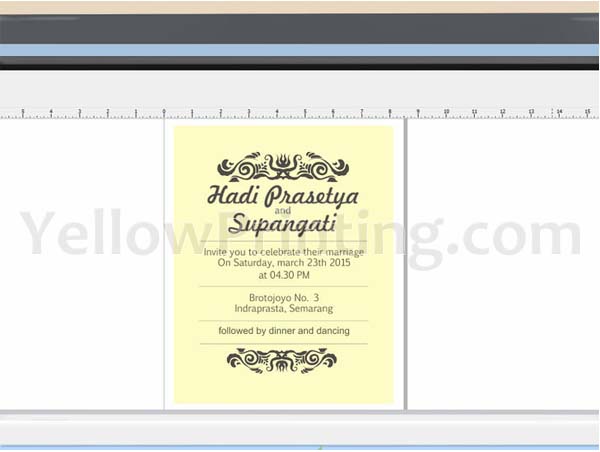
Add color to your invitation design. Evaluate the color scheme of your invitation as a whole, and then add carefully placed pops of color. Consider colored graphic elements like clip art or choose text in a color that complements the invitation design.
Consider adding color to the finished invitations with embellishments like ribbon or paper strips. Wrap a single ribbon around the invitation suite (with the invitation in front and the enclosures behind it) and secure with a piece of tape along the back of the invitation. You can also use patterned strips of paper or fabric instead of the ribbon to add color.
4. Print the Wedding Invitation Cards
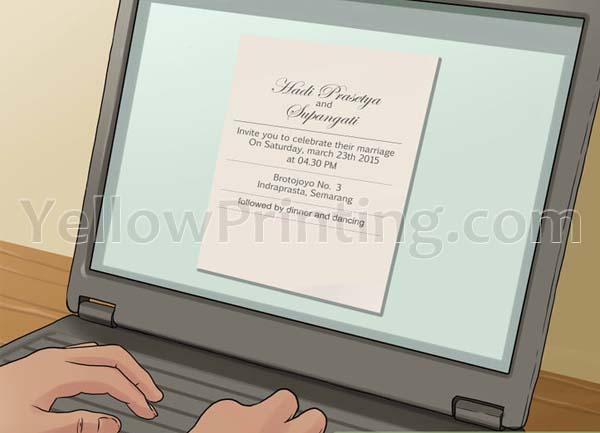
Print the invitations using your home printer. Before you begin printing the final invitations, run a test print to make sure the invitation prints correctly.
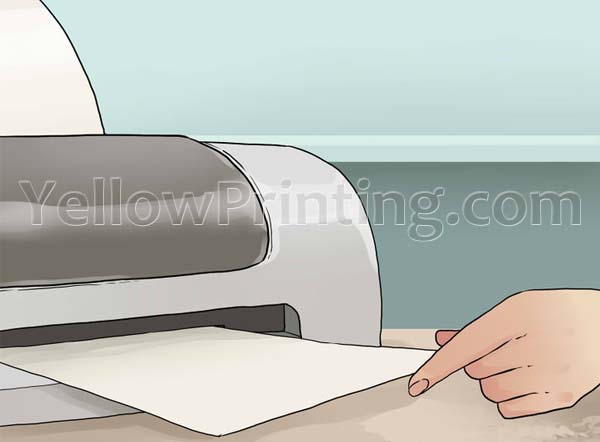
Feed the cardstock into your printer. If you are printing many invitations, the printing process may take a while. Be patient and allow for plenty of time to print the invitations.
Stay by the printer while the invitations are printing. You will be able to notice the moment there is a printing problem, stop the printing process and not waste paper.
Purchase extra printer ink before beginning the printing process. You don't want to be halfway through printing your invitations and suddenly have to run to the store to get more ink.
Pay a printing company to print the invitation cards for you. Evaluate the cost of the printer ink for your home printer compared to having the invitations printed at a local print shop. In some cases, it may be cheaper to have the invitations printed locally. Most printing companies require a .pdf of the invitation image in order to print it, but inquire about the file requirements at your local print shop. YellowPrinting.com
5. Assemble the Invitations
Assemble the printed invitation cards. This can be a good opportunity to involve family and friends in the wedding preparations. If you are involving others in the assembly process, be sure to provide a completed invitation as an example. Depending on your invitation, assembly simply may involve putting printed invitations in envelopes; or it may require mounting printed invitations on cardstock, adding enclosures and embellishments, and then placing invitation suites in envelopes.